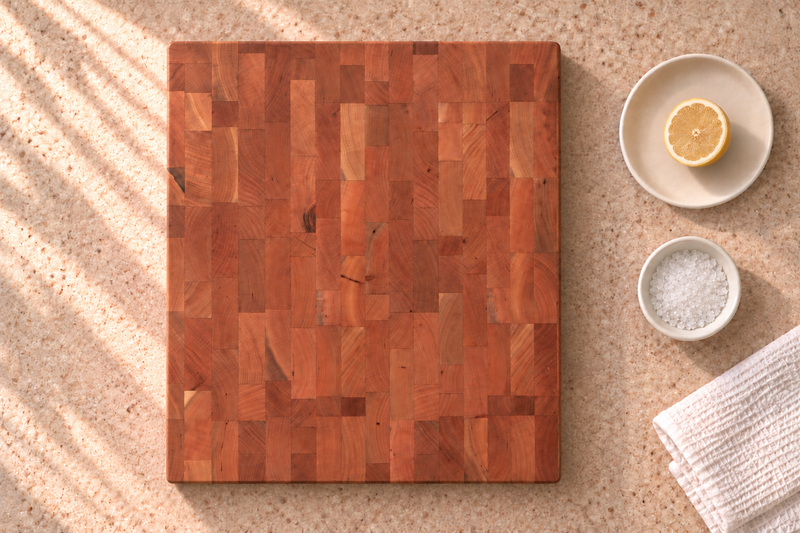
Choose a Board You’ll Use Every Day
Start with the meals you make most. Then find a size you can use, clean and store comfortably, with the wood and features you enjoy.

Choose enough room for your usual meals, in a size and weight you can comfortably lift, clean and store.
Start with the meals you make most
Think of the last three meals you cooked, rather than the dinner party you might host. Did you run out of space while chopping vegetables? Did juice reach the counter while carving? Did you reach for a small board because the large one was awkward to move?
A little more cutting space helps when vegetables pile up. A juice groove can catch runoff while you carve. If you clear the counter after every meal, an easy-to-lift board is worth looking for. And a separate bread or serving board can keep the main prep area free.

Make sure it fits beyond the counter
Measure the clear counter area, including room for a bowl beside the board. Check that you can lift and turn the board comfortably and reach its underside. Find a stable drying position with air around both faces, and a storage spot that accepts its thickness and length.
Cut a cardboard rectangle to the board’s dimensions and try it on the counter and in its storage spot. A thick block needs room to turn and dry safely, too. Our size guide walks through that test.
Three useful starting points
- Everyday prep: a 16 × 12-inch maple board gives you a general-purpose surface. Our grooved model is ¾ inch thick and weighs 3.5 lb (1.6 kg).
- A larger prep area: a 20 × 14-inch board provides extra width and depth for ingredients. Measure it against your actual workspace.
- A dedicated station: an 18 × 16-inch end-grain block or 20 × 16-inch edge-grain block gives you room for several ingredients at once. Give it a regular place on the counter, with access for cleanup and drying.
Think about the ingredients you handle, too. One large squash can need more room than sandwiches for four.


Grooved maple board
16″ × 12″

Grooved maple board
20″ × 14″

Maple edge-grain block
20″ × 16″

Maple-and-birch end-grain block
18″ × 16″
Try a full-size cardboard template on your counter before choosing. Leave space beside it for a bowl and room to lift the board.
On grooved boards, the flat cutting area is smaller than the full length and width.
Pick the features you’ll use
A groove gives liquid somewhere to collect, but it also interrupts the flat perimeter. A reversible board lets you choose the face that suits the task. Integrated hand grips give you a convenient hold when lifting or turning a block.
Juice groove
Grooved face · 16″ × 12″
Flat reverse · 16″ × 12″
Check the weight even when two boards look quite different. Our 20 × 16-inch maple edge-grain block and 18 × 16-inch maple-and-birch end-grain block both weigh 12.8 lb.
Make room for care
Unwrap a new butcher block, inspect it and wipe away packaging dust with a clean, dry cloth. Don’t wash it straight out of the packaging. Before first use, oil the clean, completely dry faces and edges with food-grade mineral oil. Let it absorb as directed, then wipe off the excess. Brush away dry bread crumbs only if the board is otherwise clean and uncontaminated. A barely damp cloth can handle a light wipe when appropriate; dry promptly. Food residue, grease and contamination need effective cleaning, followed when necessary by a suitable food-contact sanitizer used as labelled. Keep raw meat, poultry, fish and seafood on a separate board from ready-to-eat food. When washing is needed, use mild dish soap and lukewarm water, briefly washing and rinsing both faces and every edge. Don’t soak or saturate the wood. Towel-dry all sides immediately, then let air reach both faces. Keep wooden boards out of the dishwasher and away from direct heat.
Choose a board you can turn, clean and put away comfortably. That matters just as much after dinner as the cutting space does before it.